Building a Cheap Seed Starting Rack for Plants
It is Winter Now in the Northeast with Snow and very cold weather outside so I decided on Building a Cheap Seed Starting Rack for Plants. I have a few tropical plants that I am trying to maintain during the winter and I am also going to use the rack to start seeds when the time comes (That is in a couple of weeks).

This post contains affiliate links. If you purchase a product or service with the links that I provide I may receive a small commission. There is no additional charge to you! Thank you for supporting 7Savings.com so I can continue to provide you free content each week! You guys are amazing!
Building a Cheap Seed Starting Rack for Plants
You can save a lot of money by starting your seeds indoors a couple of weeks or months indoors instead of buying plants for you garden. The average price of a pack of organic seeds are about 3.97 which will give you more than 20 seeds. but that $3.97 will only but 1 to 3 plants to plant in your garden.
So starting your seeds will save you money and also give you a head start on your plants. I usually start my pepper seeds about 2 Months before the start of the season. Store bought good seed starting racks cost at least $299 but you can make one for under $100 if you don’t mine getting you hands dirty and trying new things (DIY Do it Yourself and save money). With a diy project like this you can customize it the way you want and with the items you want. all up to you. Here is how I made an easy affordable seed starting rack.
 You can buy a shelf or you can us any shelf you have. I bought mine at Walmart for about $40 a couple of years ago. I was using it for dry food storage then converted it for this project.
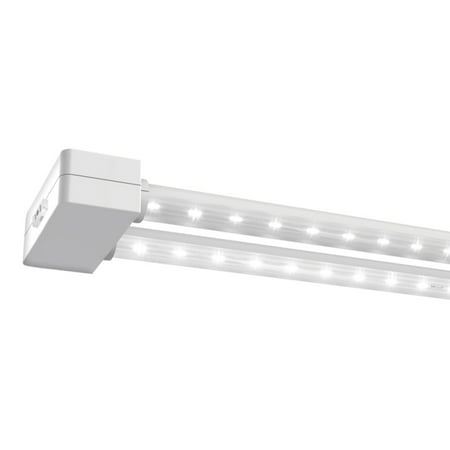
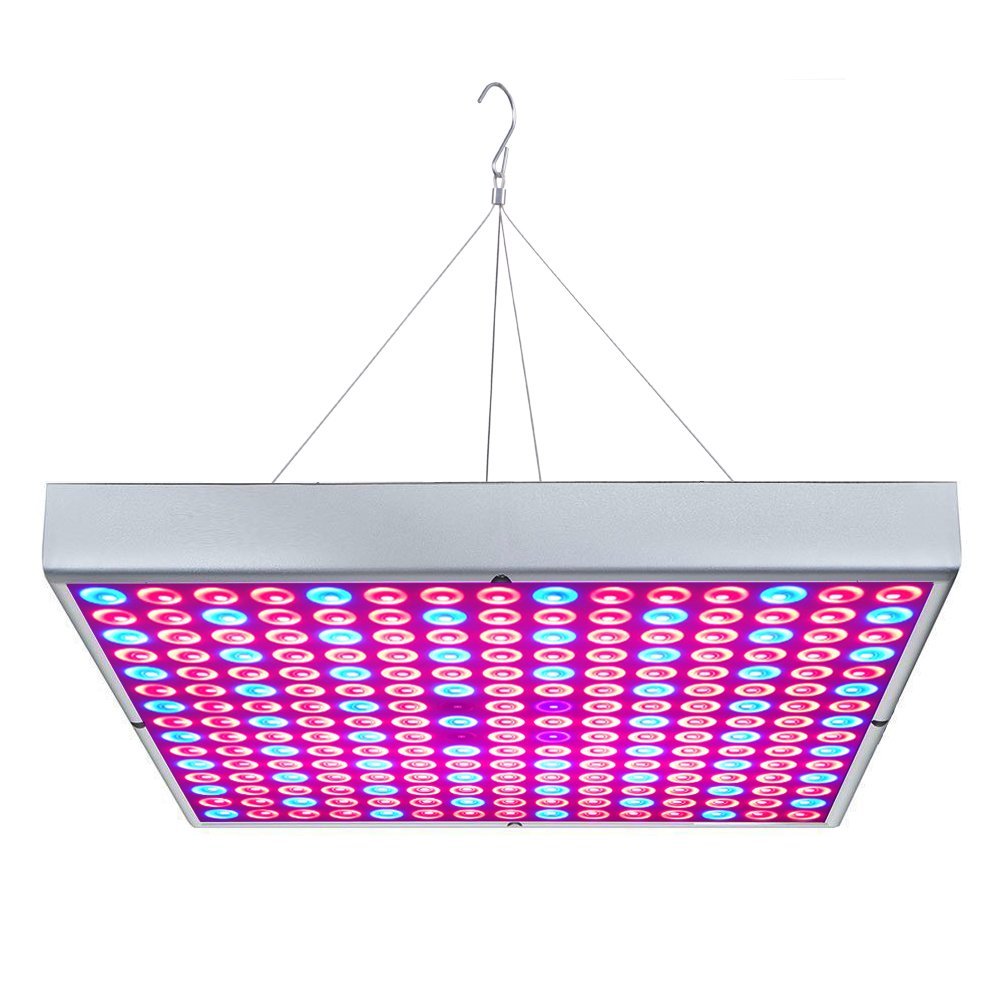
Grow lights
You’ll need about three or four grow lights depending on how many shelves you want to grow on. I paid about $20.00 for each of mine when they were on clearance at a local Walmart but you can get any other growlights. You can now get something cheaper, checkout my post on the cheapest led grow lights where you can get led grow lights for as low as $8.
Some grow lights come with hooks, if yours does not come with a hook, you can buy hooks or use zip ties to secure your grow light to the shelf.

Place the rest of the lights on the self unit and Place the plugs to the lights in a power strip. I did not need to buy a power strip because I had one already but they are not that expensive (about $5 at Walmart or Amazon or any retail or home improvement store).
Plug any heater or seed starting Mat you will use on the power strip. If you use a heater make sure it is a heater with digital thermostat so you can set the desired temperature (I usually put it around 70 to 80).
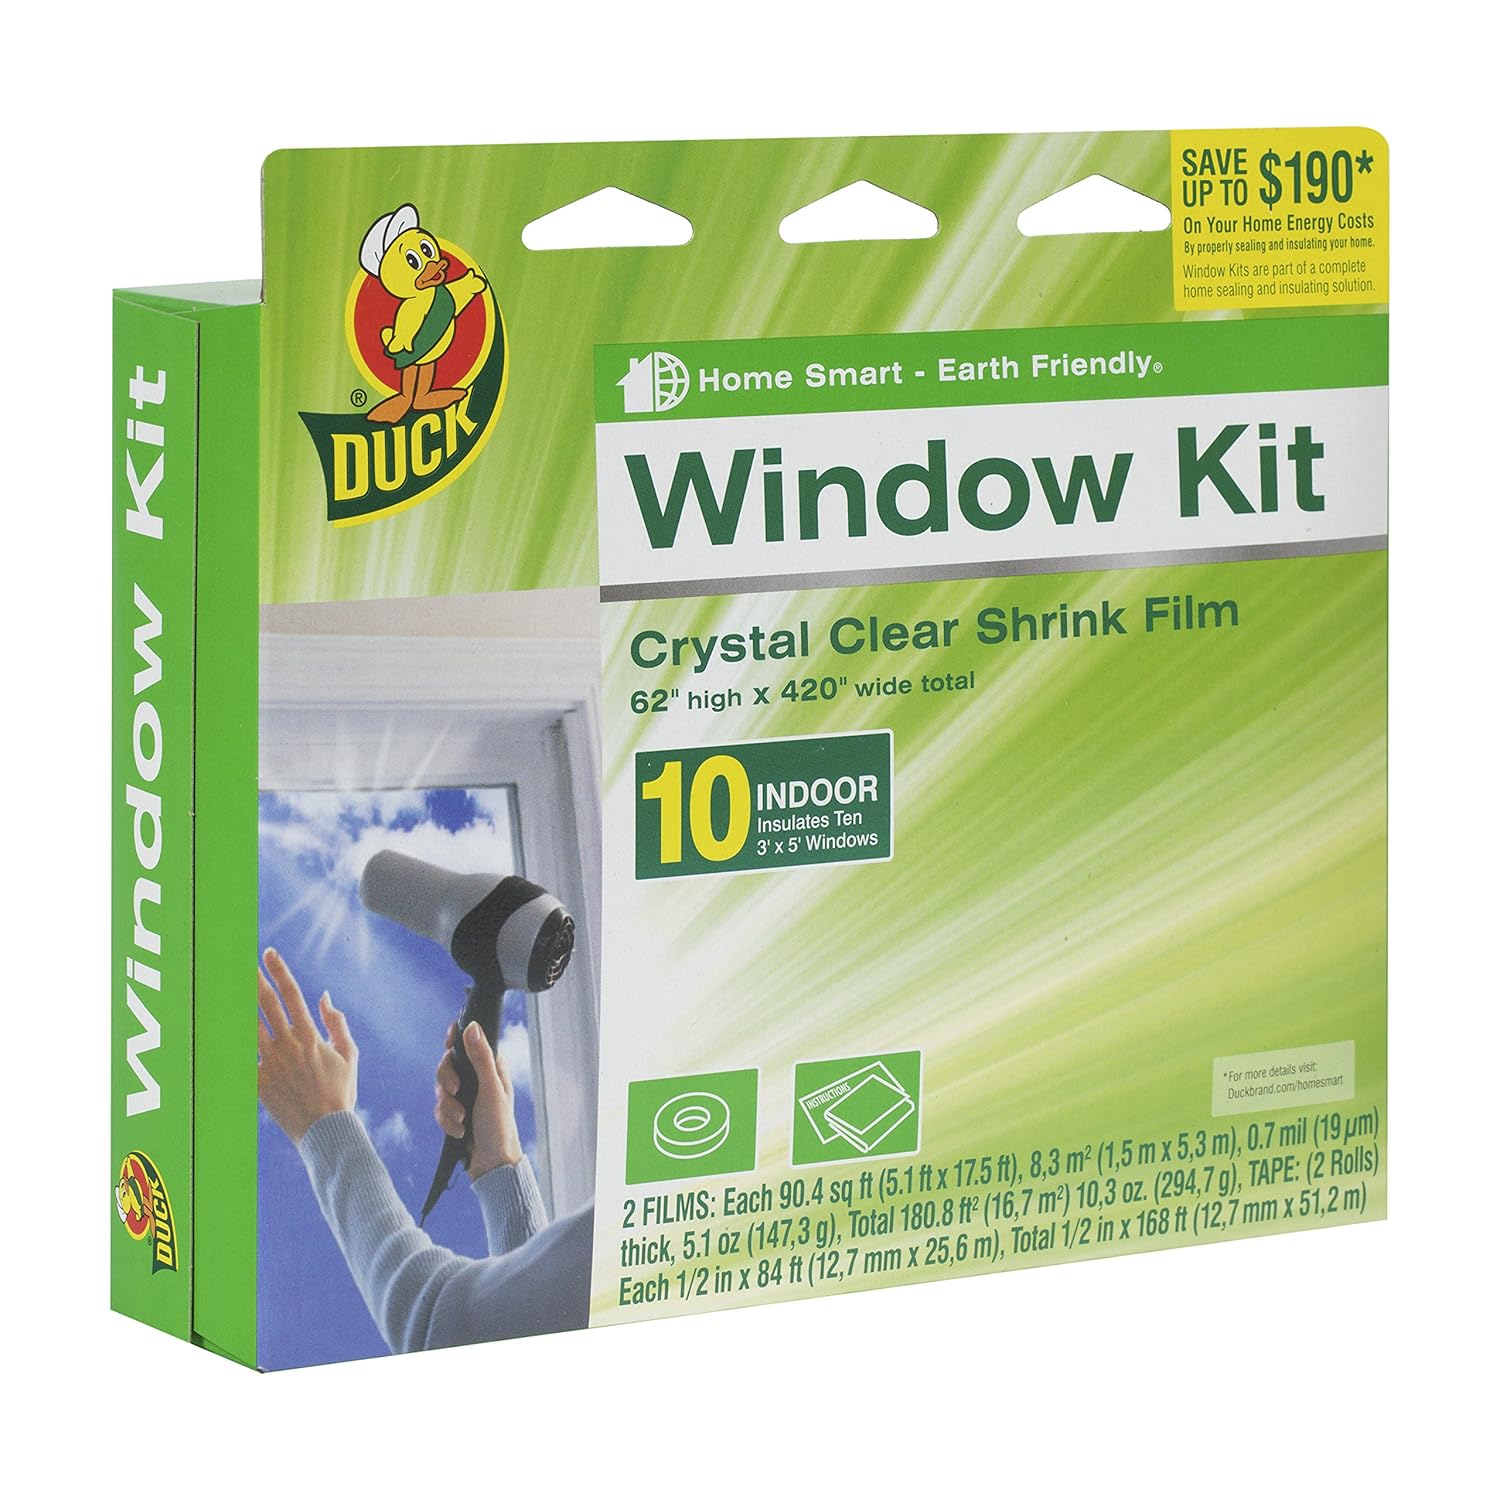
use plastic film or plastic to cover the shelf so that it maintains the heat inside. First apply double sided tape on all three sides of the shelf (except the front)
Cover all three sides (except the front) with the plastic film. on the front side, put double sided tape on the left side and Velcro on the right side.
Place the power chord plug into an electric timer for lights. If you are like me and have a busy schedule, having to remember to turn the lights on and off everyday is a pain then install the timer. It cost about $9.00. set the timer to simulate the sun, most plants need at least 8 hours but seeds need more like 12 to 18 hours at the beginning so that the seeds are not leggy. the lights need to be about 4 to 6 inches to the seedlings so that they get enough light to grow. In the winter I use it to continue growing my plants inside and toward the end of winter and beginning of spring I use it to start my seeds indoors.

Cheap Seed Starting Rack with tropical plants
Related Posts
Thanks for reading and watching, be sure to share this info with your friends and family using the social share buttons on the right . See you on the next article.


